Astral Wand Complete Guide: Master Teleportation in YapYap
Astral Wand Complete Guide: Master Teleportation in YapYap
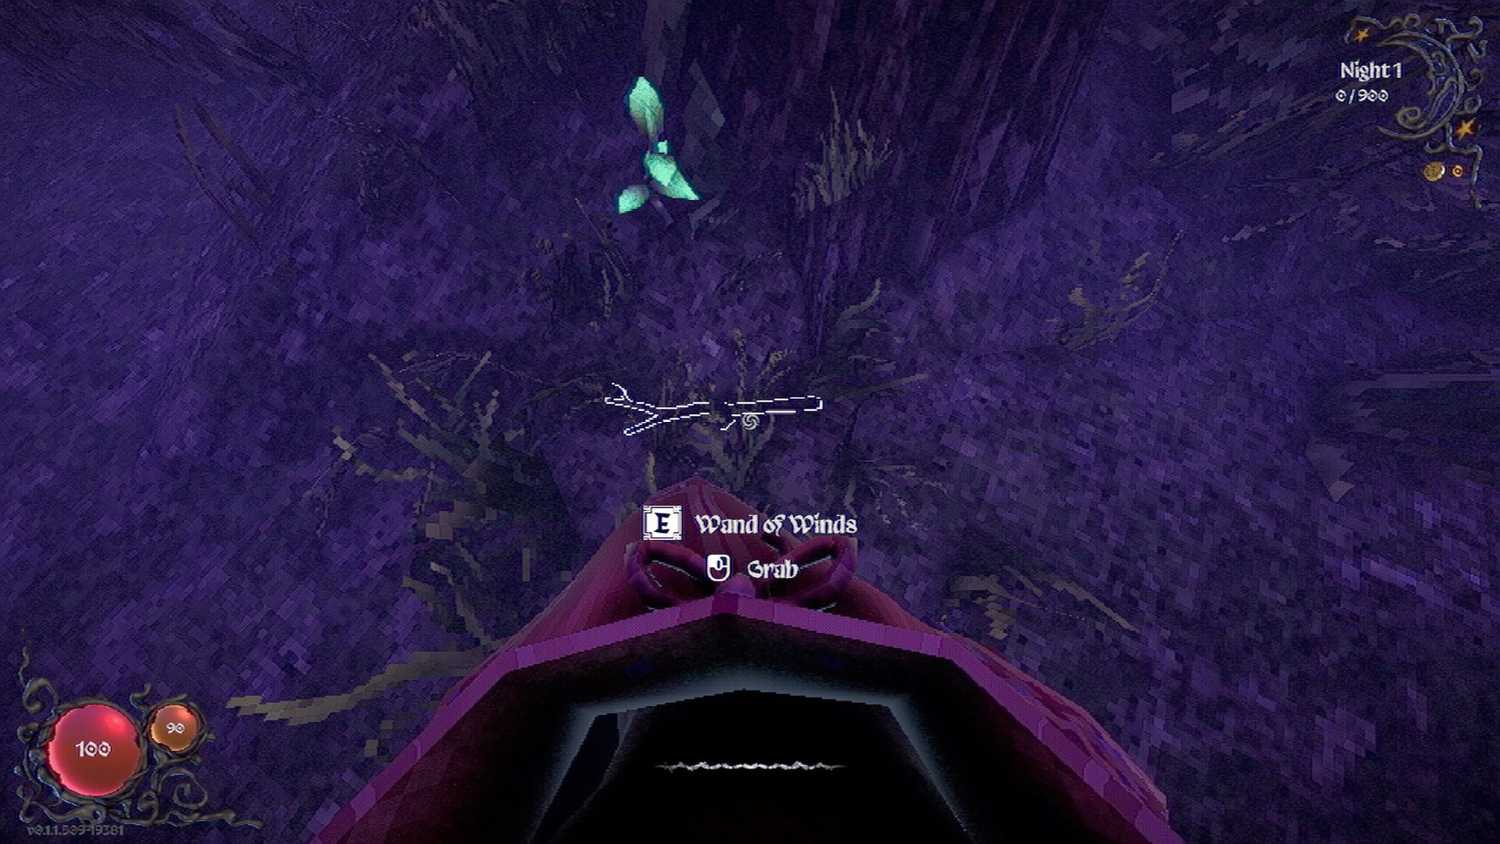
Welcome, aspiring sorcerers and mischievous apprentices, to the definitive guide on mastering the Astral Wand in YapYap! This mystical artifact is not just another tool in your magical arsenal; it's a gateway to unparalleled mobility, strategic positioning, and daring escapes. If you've ever dreamed of instantly appearing behind an unsuspecting Goblin, rescuing a beleaguered teammate from The Jester, or simply making a swift exit from a perilous situation, then the Astral Wand is your key. This guide will delve deep into every aspect of the Astral Wand YapYap experience, from unlocking its secrets to executing advanced yapyap teleport maneuvers that will leave your enemies bewildered and your allies in awe. Prepare to transform your gameplay and become a true master of spatial manipulation with the yapyap astral wand.
How to Unlock the Astral Wand
The Astral Wand is a powerful tool, and like all great magical artifacts in YapYap, it requires a bit of effort to acquire. It's not handed out freely; instead, it's a reward for those who prove their mastery over certain challenges or explore the deepest, most dangerous corners of the Grand Archmage's tower. While the exact unlock conditions can sometimes vary with game updates, the most common method involves completing a specific set of Vandalism Contracts or reaching a certain Player Level.
Contractual Obligations
Many players report unlocking the Astral Wand after successfully completing Tier 3 Teleportation Contracts. These contracts often involve:
- Teleporting a specific number of objects: This teaches you the basics of object manipulation with teleportation spells.
- Escaping a
Time Ghostencounter using only teleportation: A true test of youryapyap teleportskills under pressure. - Performing a
Team Swapwith an ally in a dangerous zone: This emphasizes the cooperative aspect of the wand.
Leveling Up Your Wizardry
Alternatively, the Astral Wand may become available once you reach Player Level 15. This level signifies a good understanding of core game mechanics and a readiness for more advanced magical tools. Keep an eye on your in-game notifications and the Wand Merchant's inventory as you progress. Sometimes, the wand might appear as a rare drop from high-tier Mimics or Skull Spiders in later levels, so always be vigilant.
warningTip: Focus on completing
Vandalism Contractsthat involve movement or object manipulation. These often provide hidden progress towards unlocking specialized wands like theAstral Wand.
All Astral Wand Spells: Swap, Blink, and More
The Astral Wand is renowned for its suite of yapyap astral wand spells, each offering unique ways to manipulate space and positioning. Understanding these spells is crucial for maximizing the wand's potential.
Blink (Primary Teleport)
Blink is your bread-and-butter teleportation spell. With a simple incantation, you can instantly transport yourself a short distance in the direction you're facing. This spell is invaluable for quick repositioning, dodging attacks, and traversing small gaps.
- Incantation:
Flicker - Range: Approximately 5 meters
- Cooldown: 3 seconds
- Uses: Evading
Goblinbombs, crossing pressure plates, gaining high ground.
Swap (Positional Exchange)
Swap is a more advanced spell that allows you to instantly exchange positions with a targeted object or ally. This spell opens up a plethora of strategic possibilities, from rescuing teammates to manipulating environmental hazards.
- Incantation:
Exchange - Range: Up to 15 meters
- Cooldown: 8 seconds
- Uses: Pulling an ally out of
Slime, swapping places with aRed Chairto escape, moving heavy objects quickly.
Astral Projection (Scouting Teleport)
This spell allows you to project an astral form a significant distance, and then Blink to its location. It's perfect for scouting ahead, bypassing obstacles, or setting up long-range yapyap teleport plays.
- Incantation:
Echo Step - Projection Range: Up to 30 meters
- Teleport Cooldown: 10 seconds (after projection)
- Uses: Scouting dangerous rooms, bypassing
Guardpatrols, setting up ambushes.
| Spell Name | Incantation | Range (approx.) | Cooldown | Primary Use Case |
|---|---|---|---|---|
Blink | Flicker | 5m | 3s | Quick evasion, short-range movement |
Swap | Exchange | 15m | 8s | Team rescue, object manipulation |
Astral Projection | Echo Step | 30m (projection) | 10s | Scouting, long-range repositioning |
Teleportation Mechanics: Understanding the YapYap Teleport
Mastering the Astral Wand goes beyond just knowing the spells; it requires a deep understanding of yapyap teleportation mechanics. The game's physics and environment interact uniquely with teleportation, and knowing these nuances can turn a good player into a great one.
Line of Sight and Obstructions
All Astral Wand spells require a clear line of sight to their target location or entity. This means you cannot Blink through solid walls or Swap with an object hidden behind cover. However, Astral Projection can often bypass this by allowing you to project your form over or around obstacles before teleporting.
warningWarning: Attempting to teleport into an obstructed space will result in a failed cast, consuming your
Spell Chargeand triggering the cooldown without any movement. Always ensure your target path is clear.
Momentum and Fall Damage
One of the most critical aspects of yapyap teleport is its interaction with momentum. Teleportation instantly resets your momentum. This means you can Blink off a high ledge to avoid fall damage, or Swap with a falling object to save it (or yourself) from destruction. This mechanic is a cornerstone of advanced Astral Wand play.
Environmental Interactions
Teleportation can interact with environmental hazards in surprising ways. For instance, you can Blink through laser grids if your timing is precise, or Swap with a pressure plate to activate it remotely. Experimentation is key to discovering all the subtle interactions.
Advanced Positioning Strategies with the Astral Wand
The Astral Wand truly shines when used for advanced positioning. It allows players to reach areas normally inaccessible, flank enemies, and control the flow of combat or evasion.
High Ground Advantage
Use Blink or Astral Projection to quickly gain high ground. From elevated positions, you can often avoid melee enemies like Goblins and Guards, and gain a better vantage point for casting other spells or observing enemy patrols. This is particularly effective against Skull Spiders and Mimics that struggle with verticality.
Flanking and Ambush Tactics
With Blink, you can instantly appear behind enemies, allowing for surprise attacks or quick Vandalism actions before they can react. Astral Projection can be used to set up long-range flanks, allowing you to bypass entire sections of a patrol route.
Objective Control
In Vandalism Contracts that require interacting with specific objects, the Astral Wand can significantly speed up the process. Swap can move heavy objects into position, while Blink allows for rapid movement between objectives, making you an invaluable asset for objective-focused gameplay.
Team Rescue Techniques with Yapyap Teleport
The Astral Wand is not just for personal gain; it's an incredibly powerful tool for team utility, especially in rescue scenarios. A well-timed yapyap teleport can turn the tide of a losing battle.
Saving Allies from Danger
If a teammate is caught by The Jester, trapped by Slime, or cornered by a Guard, a quick Swap can pull them to safety while you take their place (or simply move them out of harm's way). This requires excellent communication and timing.
warningTip: Coordinate with your team. A simple callout like "Swap me!" can be the difference between a successful rescue and a team wipe. Ensure the rescuer has a clear path to safety after the swap.
Retrieving Downed Teammates
In situations where an ally is downed in a dangerous area, Astral Projection can be used to safely reach their location, revive them, and then Blink both of you to a secure spot. This is a high-risk, high-reward maneuver that can save a run.
Distraction and Diversion
Sometimes, the best rescue is a distraction. You can Blink into a group of enemies, draw their attention, and then Blink away, giving your teammates a window to escape or complete an objective. This is particularly effective against slower, more aggressive enemies.
Escape and Evasion Tactics with the Astral Wand
When things go south, the Astral Wand is your best friend for survival. Its teleportation capabilities make it the ultimate escape tool in YapYap.
Instant Disengagement
Facing overwhelming odds? A quick Blink can put significant distance between you and your pursuers. This is especially useful against fast-moving threats like The Jester or Mimics.
Bypassing Obstacles
Locked doors, collapsed pathways, or dense enemy patrols can all be bypassed with clever use of Blink or Astral Projection. This allows you to maintain momentum during an escape and reach extraction points faster.
Swap for Misdirection
If you're being chased, Swap can be used to exchange places with an environmental object, confusing your pursuers and buying you precious seconds to escape. Imagine swapping with a Red Chair just as a Guard swings its sword!
Combining the Astral Wand with Other Wands
The Astral Wand is powerful on its own, but its true potential is unleashed when combined with other wands. Synergies can create devastating offensive plays, impenetrable defenses, or incredibly efficient Vandalism runs.
Astral Wand + Fire Wand
- Strategy:
Blinkbehind an enemy, then unleash a burst of fire from yourFire Wand. This combo is excellent for quickly dispatchingGoblinsor damagingGuardsfrom an unexpected angle. - Rescue:
Swapa teammate out of danger, then use theFire Wandto create a fiery barrier, deterring pursuit.
Astral Wand + Force Wand
- Strategy:
Blinkinto a group of enemies, then use theForce WandtoPushthem away, creating space. Alternatively,Swapan enemy into a trap or off a ledge. - Vandalism:
Swapheavy objects into position, then use theForce WandtoLaunchthem at targets, maximizingVandalismpoints.
Astral Wand + Blessed Wand
- Strategy: The
Blessed Wandis primarily for healing. UseBlinkto quickly reach a wounded ally,Healthem, and thenBlinkback to safety. This makes you an incredibly mobile and effective medic. - Support:
SwapaBlessed Wanduser into a better position to heal multiple allies, orSwapthem out of immediate danger if they are targeted.
| Wand Combination | Synergistic Use Case | Example Scenario |
|---|---|---|---|
| Astral + Fire | Burst damage, area denial | Blink behind Guard, Fireball for quick takedown |
| Astral + Force | Crowd control, environmental kills | Swap Goblin into laser grid, Push Mimic off cliff |
| Astral + Blessed | Mobile healing, rapid support | Blink to downed ally, Heal, Blink to safety |
Images

Conclusion: Master the Astral Wand, Master YapYap
The Astral Wand is a game-changer in YapYap, offering unparalleled mobility and strategic depth. From mastering the yapyap astral wand spells like Blink and Swap to understanding the intricate yapyap teleportation mechanics, this guide has equipped you with the knowledge to dominate the tower. Whether you're using it for advanced positioning, daring team rescues, or swift escapes, the Astral Wand will elevate your gameplay to new heights. Practice your incantations, hone your spatial awareness, and become the teleporting terror the Grand Archmage fears most.
Now that you've mastered the Astral Wand, don't stop there! Explore our other comprehensive YapYap guides to further enhance your magical prowess. Check out our articles on Blessed Wand strategies for ultimate support, or learn How to Extract in YapYap to ensure your successful escape from even the most perilous situations. The world of YapYap is vast and full of secrets, and with the right knowledge, you can conquer it all. Happy teleporting, and may your spells always be true!