YapYap Combat Strategies: Video Tutorials for Fighting Every Enemy
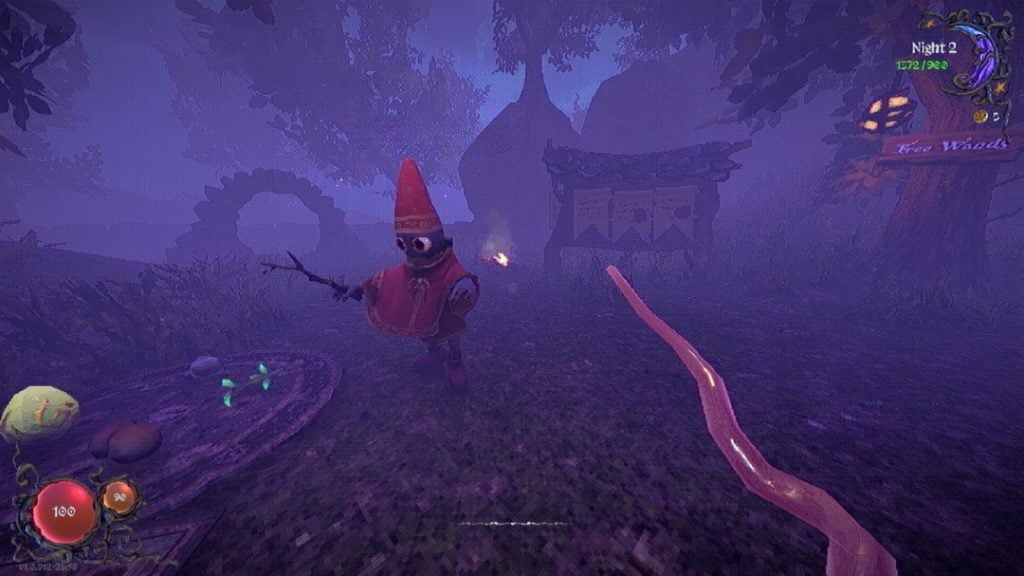
Combat in YAPYAP is unlike any other game. You're not just clicking buttons or pressing hotkeys — you're shouting spell incantations into your microphone while dodging deadly enemies in a dark, procedurally generated tower. Mastering combat requires understanding enemy behaviors, perfecting spell combinations, and maintaining composure under pressure. This comprehensive video tutorial guide showcases the best combat demonstrations, enemy encounter strategies, and survival techniques from expert YAPYAP players.
Why Video Tutorials Are Essential for Combat Mastery
Written guides can describe enemy attack patterns, but watching them in action provides crucial context that text cannot convey:
Timing and Positioning: See exactly how far away you need to be from a Knight when it charges, or how to position yourself to avoid the Skull Spider's web attack. Visual demonstrations make timing crystal clear.
Spell Combo Execution: Watch experienced players chain spells together in real-time, showing you the rhythm and cadence needed for effective combinations. You'll see how quickly to switch wands and when to reposition between casts.
Panic Management: Combat videos demonstrate how to stay calm during chaotic encounters. You'll learn to recognize the difference between a manageable situation and one where you should flee immediately.
Audio Cues: Many enemies have distinct sound effects that signal their attacks. Video tutorials with game audio help you learn these auditory warnings, which are critical for survival when visibility is limited.

Advanced Combat Tips and Techniques
This advanced tutorial dedicates significant time to combat strategies that separate novice players from experts. The video demonstrates several game-changing techniques:
Enemy Manipulation Tactics
The video showcases how to use environmental objects and spell effects to control enemy movement:
Doorway Funneling: By positioning yourself in a doorway and using Tempest from the Wand of Winds, you can create a chokepoint that prevents multiple enemies from surrounding you. The tornado effect knocks enemies back, giving you time to pick them off one by one.
Piss-Yuk Slowing: The video demonstrates placing Piss-Yuk puddles in enemy patrol routes. When enemies walk through the puddles, their movement speed decreases by approximately 30%, giving you more time to escape or set up offensive spells.
Confuse Redirection: Using the Confuse spell from the Wand of Illusions, the player shows how to redirect enemy aggro toward destructible objects or other enemies, creating opportunities for safe passage.
Spell Combo Demonstrations
The video breaks down several high-damage spell combinations:
| Combo Name | Wands Required | Execution | Damage Output |
|---|---|---|---|
| Inferno Tornado | Winds + Fire | Tempest → Ignis Tongue | Very High AOE |
| Freeze Shatter | Ice + Destruction | Freeze → Wham-Wham | Instant Kill (frozen enemies) |
| Teleport Strike | Astral + Fire | Blink → Ignis Boom | High Burst + Escape |
| Heal Tank | Blessed + Destruction | Bless → Aggressive Wham-Wham | Sustained Combat |
Each combo is demonstrated against different enemy types, showing which combinations work best against specific threats.
warningTip: The video emphasizes that spell combos require practice in safe environments before attempting them in high-pressure situations. Spend time in early quotas perfecting your timing.
Enemy-Specific Combat Guides
Fighting the Jester
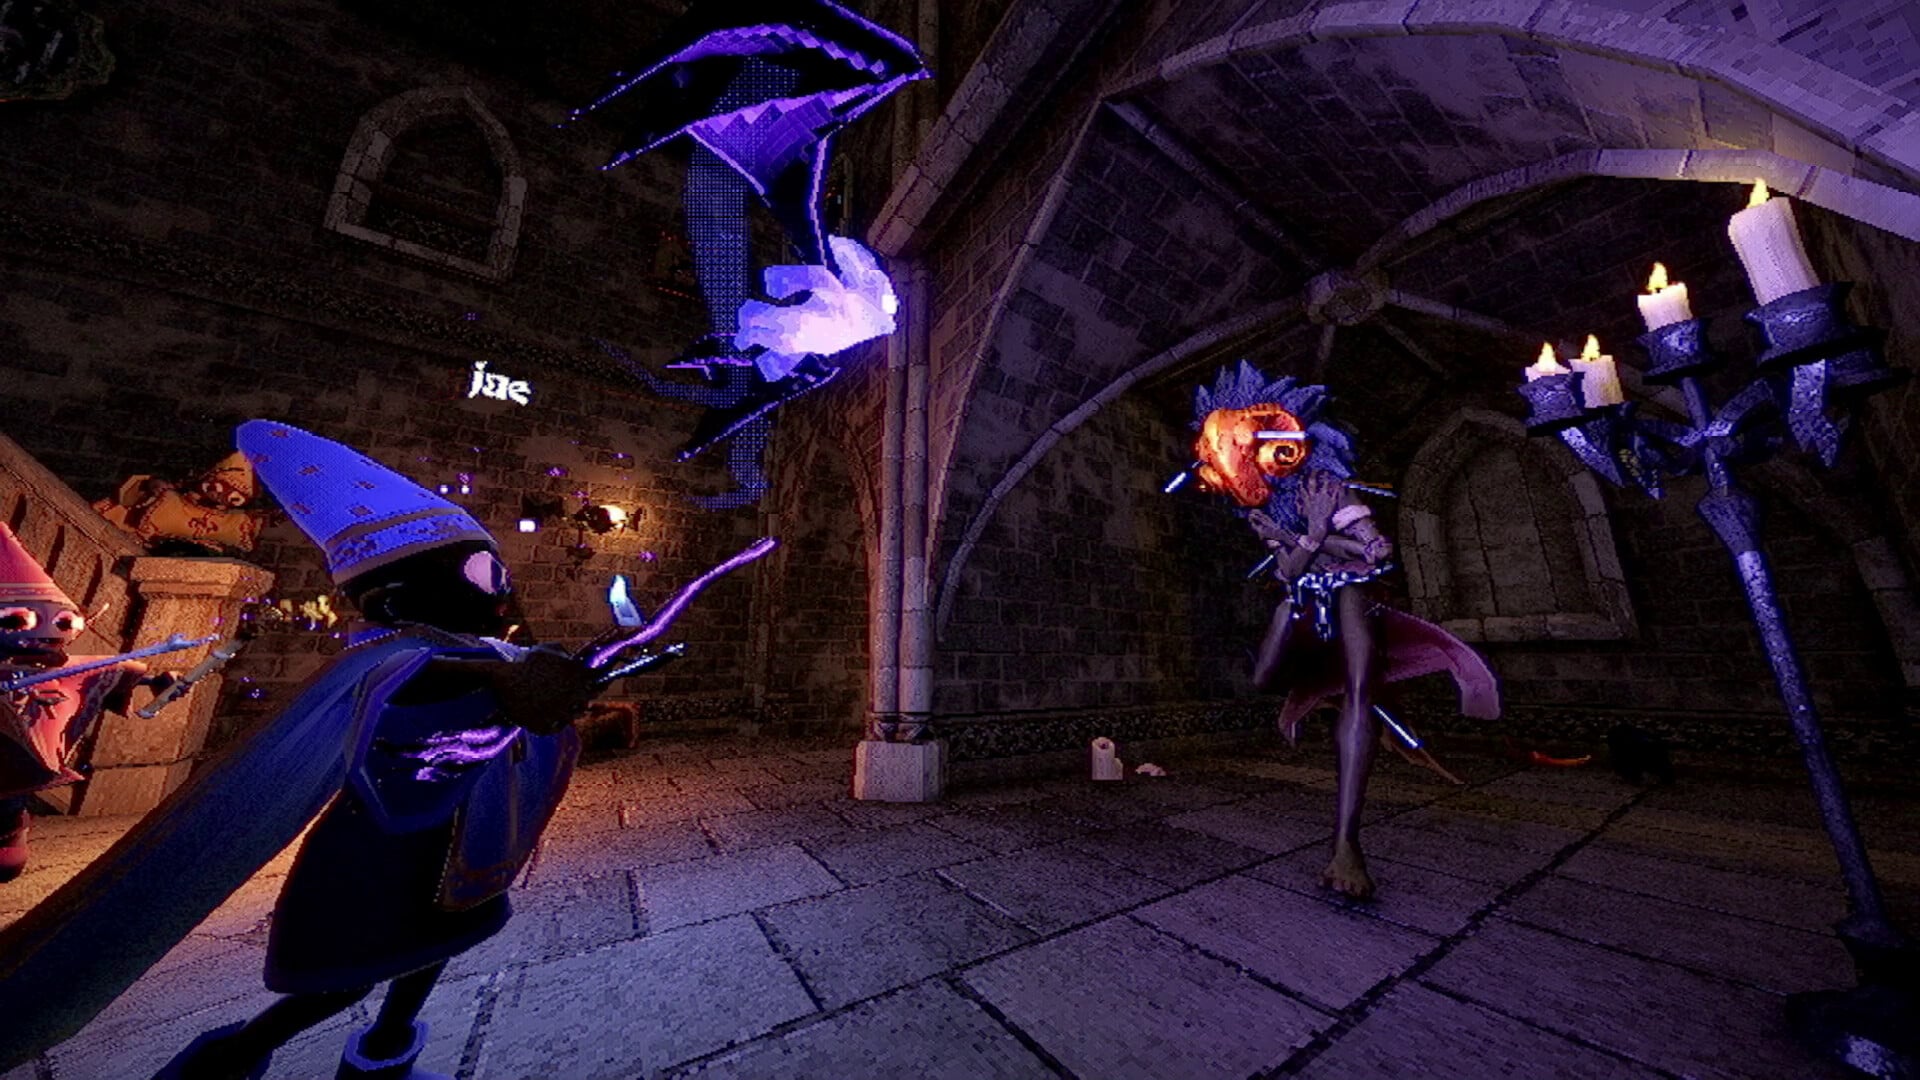
The Jester is one of the most feared enemies in YAPYAP due to its instant-kill mechanic. The video demonstrates the critical rule: never look directly at the Jester when it's performing.
Visual Identification: The video shows exactly what the Jester looks like when it's "performing" (dancing and making noise) versus when it's safe to observe. The key indicator is the glowing red aura around the Jester during its deadly performance.
Escape Strategy: The demonstration shows the proper escape technique:
- Hear the Jester's music (audio cue)
- Immediately turn your camera away (look at the ground or ceiling)
- Use
BlinkorTempestto create distance while not looking - Wait for the music to stop before turning back
Team Coordination: In multiplayer scenarios, the video shows how one player can monitor the Jester while others complete objectives, calling out when it's safe to look.

Defeating the Knight
Combat Demonstration: The Knight is one of the few enemies you can reliably defeat in combat. The video shows the optimal strategy:
Phase 1 - Charge Attack: When the Knight lowers its lance and begins charging, the video demonstrates the dodge timing. You need to sidestep approximately 0.5 seconds before impact. The visual cue is when the Knight's armor glows red.
Phase 2 - Vulnerability Window: After the charge misses, the Knight is stunned for 3-4 seconds. The video shows the exact spell sequence:
- Cast
Wham-Wham(Wand of Destruction) for high burst damage - Follow up with
Ignis Tongue(Wand of Fire) for sustained damage - Retreat before the Knight recovers
Repeat Strategy: The demonstration shows three complete cycles of this pattern, successfully defeating a Knight without taking damage.
Countering the Skull Spider
The Skull Spider is particularly dangerous due to its web attack that immobilizes players. The video demonstrates:
Web Avoidance: The spider rears back before shooting web. The visual cue is the abdomen glowing white. You have approximately 1 second to dodge laterally.
Ranged Combat: The video shows using Aero from the Wand of Winds to attack from maximum range, staying outside the spider's web range (approximately 15 meters).
Freeze Counter: If you have the Wand of Ice, the demonstration shows how Freeze instantly immobilizes the spider, allowing you to bypass it or destroy it safely.
Spell-Specific Combat Tutorials
This comprehensive spell guide includes dedicated combat sections for each spell, showing practical applications against real enemies.
Offensive Spell Demonstrations
Ignis Tongue (Wand of Fire):
- The video shows the fire stream's effective range (10-12 meters)
- Demonstrates how to "sweep" the stream across multiple enemies
- Shows the damage-over-time effect continuing after you stop casting
- Reveals that the spell can ignite environmental objects, creating area denial
Wham-Wham (Wand of Destruction):
- Demonstrates the spell's instant-hit nature (no projectile travel time)
- Shows damage values against different enemy types
- Reveals the knockback effect can be used to push enemies into hazards
- Demonstrates dual-wielding two Wands of Destruction for rapid-fire attacks
Aero (Wand of Winds):
- Shows the projectile's arc and travel speed
- Demonstrates leading your shots against moving enemies
- Reveals that headshots deal 50% more damage
- Shows how the knockback can interrupt enemy attacks
Defensive Spell Demonstrations
Blink (Wand of Minor Arcanes):
- Demonstrates the maximum teleport distance (approximately 8 meters)
- Shows how to use it to escape through walls and doors
- Reveals that you can teleport vertically to reach high areas
- Demonstrates the invulnerability frames during the teleport animation
Heal (Blessed Wand):
- Shows the healing range and targeting system
- Demonstrates self-healing versus healing teammates
- Reveals that overhealing creates a temporary shield
- Shows the cooldown timer and how to manage it during combat
Confuse (Wand of Illusions):
- Demonstrates the spell's effect on different enemy types
- Shows confused enemies attacking each other
- Reveals the duration varies by enemy type (2-5 seconds)
- Demonstrates using it to escape rather than fight

Team Combat Coordination
Effective team combat in YAPYAP requires role distribution and communication. This video demonstrates optimal team compositions and tactics.
Role Demonstrations
The Tank (Fighter):
- Equipped with
Wand of DestructionandBlessed Wand - Demonstrates drawing enemy aggro while self-healing
- Shows how to position yourself between enemies and teammates
- Reveals communication callouts: "I'm tanking Knight, focus on vandalism"
The Healer (Support):
- Equipped with
Blessed WandandWand of Winds(for escape) - Demonstrates staying behind the frontline
- Shows prioritizing healing on low-health teammates
- Reveals the importance of calling out healing cooldowns
The Vandal (Damage Dealer):
- Equipped with
Wand of FireandGrotesque Wand - Demonstrates focusing on objectives while others handle enemies
- Shows maximizing Chaos points during safe windows
- Reveals efficient room-clearing patterns
Team Combo Demonstrations
The video showcases several powerful team combinations:
Freeze and Shatter:
- Player 1 casts
Freezeon a group of enemies - Player 2 follows with
Wham-Whamfor instant kills - Demonstrates communication: "Freezing in 3... 2... 1... NOW!"
Heal Tank Push:
- Tank player engages multiple enemies
- Healer maintains constant healing
- Vandal completes objectives behind the frontline
- Demonstrates sustained pressure on difficult rooms
Distract and Flank:
- Player 1 uses
Confuseto distract enemies - Players 2-3 flank from different angles
- Demonstrates crossfire positioning for maximum damage
Survival Combat Strategies
This entertaining video includes several moments where the player must fight their way out of dangerous situations, providing excellent examples of panic management and emergency tactics.
Emergency Escape Techniques
The Panic Blink Chain:
When surrounded by multiple enemies, the video shows repeatedly casting Blink in different directions to create maximum distance. The player demonstrates maintaining clear pronunciation even while panicking, which is crucial for successful escapes.
The Tempest Shield:
Using Tempest from the Wand of Winds while backpedaling creates a moving barrier that knocks back pursuing enemies. The video shows this technique buying crucial seconds to reach a safe room or extraction point.
The Sacrifice Play:
In multiplayer, the video demonstrates one player intentionally drawing all enemy aggro while teammates escape or complete final objectives. The sacrificing player uses maximum mobility spells (Blink, Ignis Legs) to survive as long as possible.
Voice Casting Under Pressure
The video provides valuable lessons on maintaining spell casting accuracy during high-stress situations:
Breath Control: The player demonstrates taking quick breaths between spell casts rather than holding their breath, which leads to shaky voice and failed casts.
Volume Consistency: Shows that shouting louder doesn't help — maintaining consistent volume is more important for recognition accuracy.
Pronunciation Shortcuts: Reveals that you can slightly abbreviate spell names once the game recognizes your voice pattern, but this requires practice.
warningWarning: The video shows several failed casts during panic moments. The creator emphasizes that practicing calm, clear pronunciation in safe environments builds muscle memory that carries over to dangerous situations.
Combat Practice Drills
Based on techniques demonstrated across multiple videos, here are recommended practice drills:
Solo Combat Drill
-
Enemy Identification Drill (5 minutes):
- Enter a low-quota run
- Encounter each enemy type
- Practice the recommended counter-strategy from videos
- Focus on visual and audio recognition
-
Spell Combo Drill (10 minutes):
- Practice each combo from the advanced tips video
- Start slow, focusing on accuracy
- Gradually increase speed
- Track your success rate
-
Escape Drill (5 minutes):
- Intentionally trigger multiple enemies
- Practice emergency escape techniques
- Focus on maintaining clear spell pronunciation while moving
Team Combat Drill
-
Role Practice (15 minutes):
- Each player takes a specific role
- Run a low-quota mission focusing on role execution
- Rotate roles to understand each perspective
-
Communication Drill (10 minutes):
- Practice specific callouts from videos
- Establish team-specific shorthand
- Test communication under pressure
-
Combo Coordination (10 minutes):
- Practice team combos in safe environments
- Focus on timing and positioning
- Gradually add pressure by introducing enemies

Advanced Combat Concepts from Video Analysis
Enemy Behavior Patterns
By analyzing multiple combat videos, several consistent enemy behavior patterns emerge:
Patrol Routes: Most enemies follow predictable patrol routes. Videos show experienced players memorizing these routes to avoid unnecessary encounters.
Aggro Range: Different enemies have different detection ranges. Videos demonstrate the exact distances at which each enemy type becomes aggressive.
Attack Telegraphs: Every enemy attack has a visual telegraph. Compilation videos show all attack animations side-by-side for easy comparison.
Spell Efficiency in Combat
Video analysis reveals optimal spell choices for different combat scenarios:
| Scenario | Optimal Spell | Reasoning (from videos) |
|---|---|---|
| Single Strong Enemy | Wham-Wham | Highest single-target damage |
| Multiple Weak Enemies | Tempest | AOE knockback and damage |
| Escape Needed | Blink | Instant repositioning |
| Low Health | Heal | Obvious, but timing matters |
| Enemy Swarm | Ignis Tongue + Tempest | Combo for maximum AOE |
Resource Management in Extended Combat
Longer combat videos demonstrate resource management strategies:
Spell Charge Conservation: Top players avoid using high-cost spells on weak enemies, saving charges for dangerous threats or emergencies.
Health Management: Videos show players accepting minor damage to conserve healing charges for critical moments.
Positioning for Resupply: Experienced players fight near supply caches, retreating to resupply when resources run low.
Recommended Combat Video Playlist
Create a focused combat training playlist:
- ULTIMATE Beginner's Guide to YAPYAP - Enemy identification and basic counters
- 10 ADVANCED Tips you NEED TO KNOW - Advanced combat techniques and combos
- How To Use Spells In YAPYAP - Spell-specific combat applications
- This Game Makes ME SHOUT MY SPELLS - Panic management and voice casting under pressure
Watch these videos in order, practicing each concept before moving to the next.
Staying Current with Combat Meta
The YAPYAP combat meta evolves as players discover new strategies and the game receives updates:
Follow Competitive Players
Search for "YAPYAP speedrun" or "YAPYAP high quota" to find videos from the most skilled players. These runs showcase cutting-edge combat strategies and optimal spell usage.
Patch Note Analysis Videos
When the game updates, search for "YAPYAP patch [version] combat changes" to find videos analyzing how updates affect combat strategies.
Community Combat Challenges
The community regularly creates combat challenges (e.g., "defeat Knight with only Wand of Winds"). These videos showcase creative problem-solving and alternative strategies.
Conclusion: Watch, Learn, Practice, Master
Combat mastery in YAPYAP requires more than just reading about strategies — you need to see them in action, hear the spell pronunciations, and understand the timing through visual demonstrations. The video tutorials curated in this guide provide comprehensive combat education from beginner fundamentals to advanced techniques.
Remember to:
- ✅ Watch enemy encounter demonstrations to learn attack patterns
- ✅ Study spell combo videos to understand timing and execution
- ✅ Practice voice casting techniques shown in panic situation videos
- ✅ Analyze team coordination videos for multiplayer strategies
- ✅ Create practice drills based on demonstrated techniques
- ✅ Stay updated with new combat videos as the meta evolves
By combining these video resources with hands-on practice, you'll transform from a wizard who runs from every enemy to a confident combatant who knows exactly when to fight and when to flee. Now grab your wands, queue up these tutorials, and prepare to dominate the tower's deadliest foes!
For more combat resources, check out our complete enemy bestiary, survival guide, and spell reference documentation.