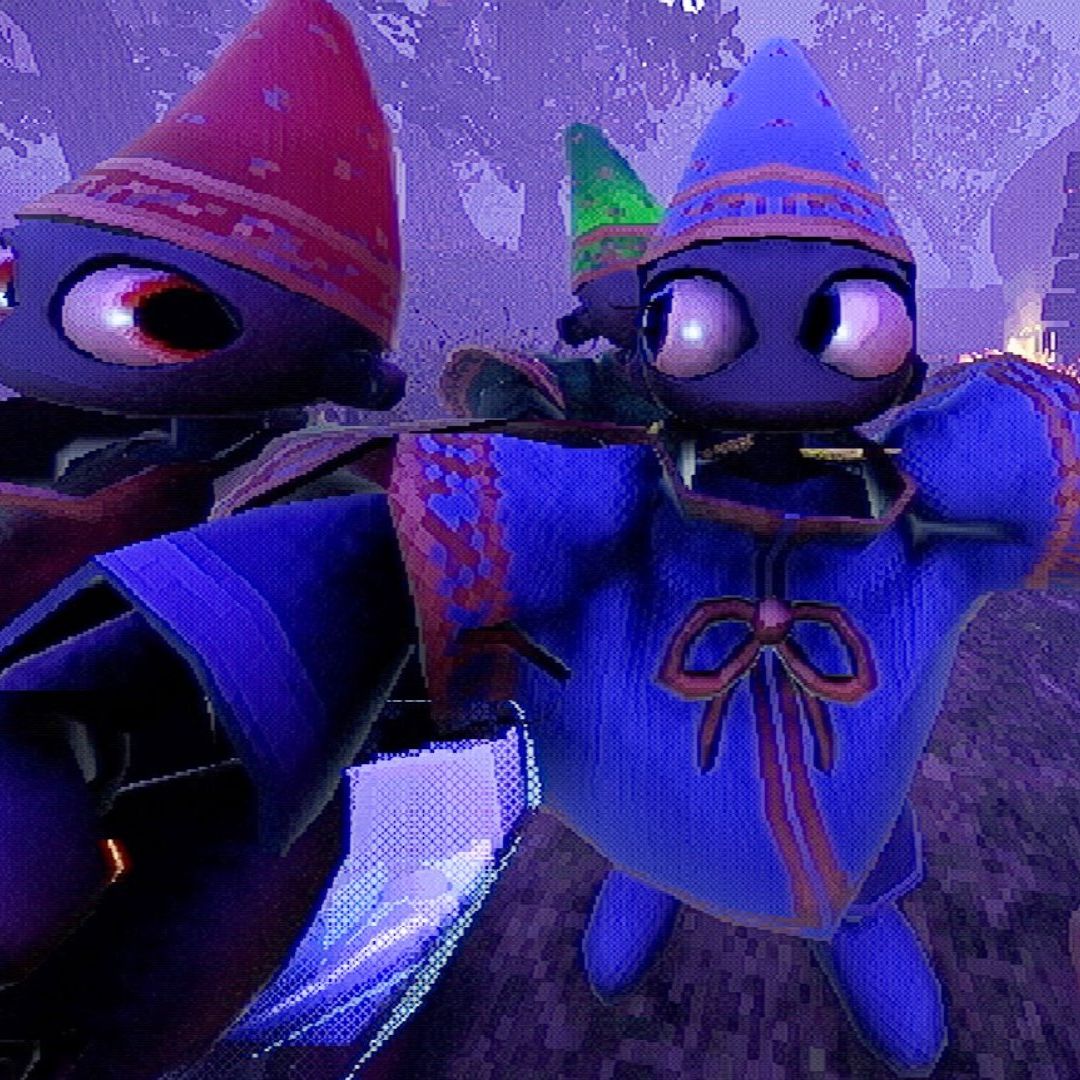
YapYap Wand Tier List & Best Loadouts
Mastering the Arcane: A Guide to Wands in YapYap
In the chaotic corridors of the Archmage's tower, your choice of wand is the most critical decision you'll make. A powerful wand can mean the difference between a successful raid and a swift, ignominious demise. This guide provides a definitive tier list for all wands in YapYap, along with recommended loadouts to maximize your destructive potential, whether you're a lone wolf or a coordinated team player.
YapYap Wand Tier List
We've ranked every wand based on a combination of raw power, utility, and versatility across different scenarios. While S-Tier wands are universally powerful, even lower-tier wands can excel in specific situations.
| Tier | Wands | Analysis |
|---|---|---|
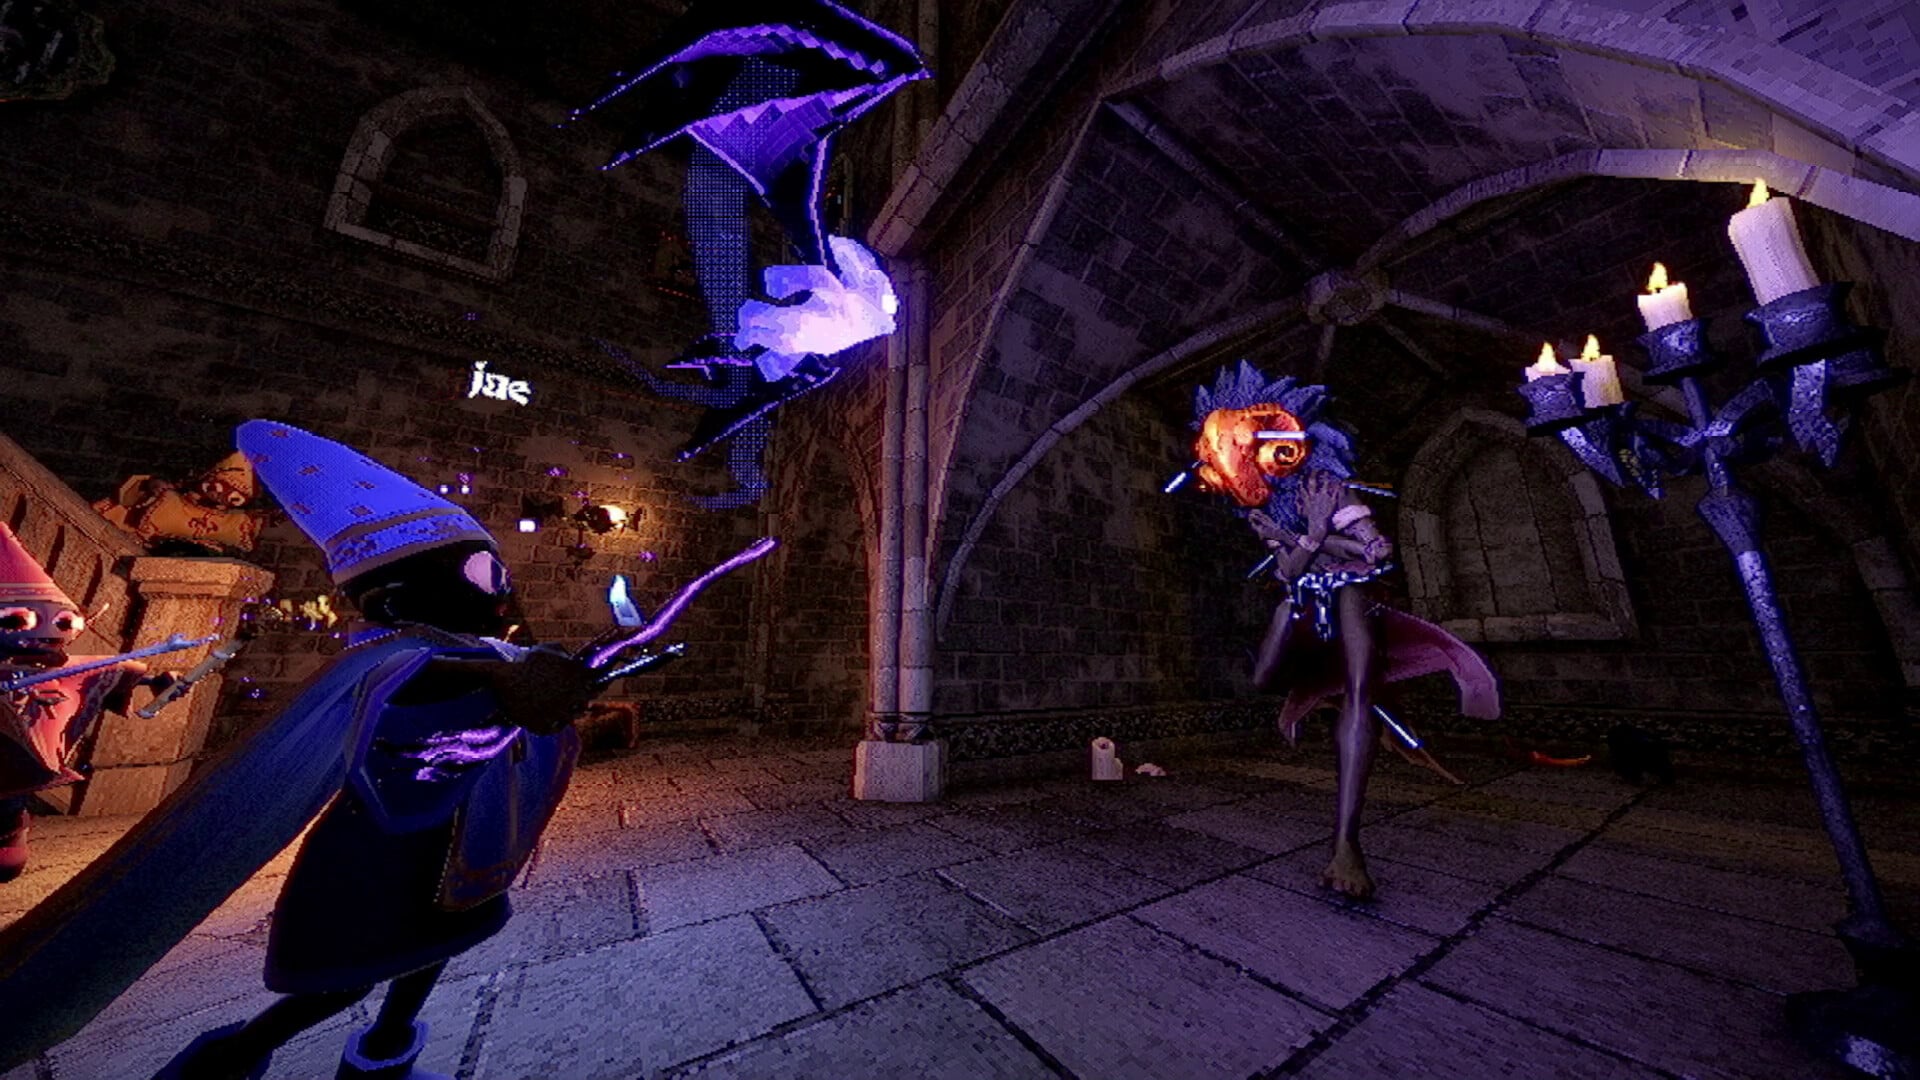
| S | Fire Staff, Teleblast Wand | The undisputed kings. The Fire Staff offers unparalleled damage output, capable of neutralizing most threats quickly. The Teleblast Wand provides incredible mobility and crowd control, essential for escaping deadly encounters and repositioning your team. |
| A | Force Wand, Candle Staff | Highly effective and versatile. The Force Wand is perfect for creating space, knocking back enemies, and manipulating objects. The Candle Staff provides a steady source of light and decent fire damage, making it a reliable choice for dark, unexplored areas. |
| B | Piss-Yuk Wand, Wooden Staff | Situational but strong. The Piss-Yuk Wand is surprisingly effective against Slimes and useful for racking up points on Goblins. The free Wooden Staff is a solid starting weapon, capable of handling early-game threats with ease. |
| C | Clone Wand, Fishify Wand | Niche and tricky to use. The Clone Wand can create diversions but often adds to the chaos. The Fishify Wand is a novelty, useful for specific pranks but offering little combat viability. |

Recommended Wand Loadouts for Solo Play
When you're on your own, your loadout needs to be self-sufficient, balancing offense, defense, and utility.
- Primary:
Fire Staff - Secondary:
Teleblast Wand
This combination is the gold standard for solo players. The Fire Staff is your primary damage dealer, capable of incinerating Guards and other tough enemies. The Teleblast Wand serves as your get-out-of-jail-free card. Use it to blast yourself away from a Jester or to knock a swarm of Goblins off a ledge.
warningTip: The
Teleblast Wandcan be used to "rocket jump" to higher areas, allowing you to access shortcuts or escape routes that are otherwise unreachable. Practice this technique to master movement.
Optimal Wand Combinations for Multiplayer Teams
In a team, loadouts can be more specialized. Coordination is key to leveraging the unique strengths of each wand.
- Damage Dealer (2 Players):
Fire Staff - Crowd Control (2 Players):
Force Wand - Support / Specialist (2 Players):
Teleblast Wand,Piss-Yuk Wand
This 6-player setup creates a well-oiled machine of destruction. The Fire Staff users focus on eliminating high-priority targets. The Force Wand players keep enemies at bay, creating a safe perimeter for the casters. The Teleblast Wand user acts as a mobile scout and rescuer, while the Piss-Yuk specialist can focus on objectives and dealing with Slimes.
Wand Selection for Different Stages of the Game
Your wand choice should evolve as you progress through the tower.
- Early Game (Floors 1-3): The
Wooden Staffis more than sufficient. Don't be afraid to use it to fend offGoblinsand save your more powerful wands for later. TheCandle Staffis also a great find here for its lighting. - Mid Game (Floors 4-7): You'll need more firepower. Prioritize finding a
Fire StafforForce Wand. Encounters withGuardsandMimicsbecome more common, and a weak wand will leave you vulnerable. - Late Game (Floors 8+): This is where the
S-Tierwands become essential. The density and lethality of enemies like theSkull SpiderandJesterdemand the best crowd control and damage available. ATeleblast Wandis almost mandatory for survival.
warningWarning: Never enter the late game without a reliable escape option. A
Teleblast Wandor a well-coordinated team withForce Wandsis crucial for making it to the exit portal when theTime Ghostappears.
Expert-Level Loadout Strategies
For seasoned players looking to push the limits, these advanced strategies offer a high risk, high reward playstyle.
- The "Pusher" Duo: Two players with
Force Wandscan create a perpetual motion machine of chaos, pushing enemies into traps, off ledges, or into each other. This is highly effective for locking down entire corridors. - The "Bait and Switch": One player with a
Clone Wandcreates a duplicate of themselves and runs into a dangerous area. While enemies are distracted, a player with aFire Staffambushes them from behind. This is perfect for clearing rooms with multipleGuards. - The "Tele-Frag" Maneuver: A highly skilled
Teleblast Wanduser can aim their blast at an enemy's location, teleporting directly into them and causing a small explosion. It's risky, but it's one of the most stylish ways to eliminate a target.
Conclusion
Choosing the right wand and coordinating with your team are fundamental skills in YapYap. While the Fire Staff and Teleblast Wand stand out as top-tier choices, every wand has its purpose. By understanding their strengths and weaknesses, you can adapt to any situation the Archmage's tower throws at you. Experiment with different loadouts, practice your incantations, and you'll be a master wizard in no time.